The short answer
Use even light, keep the camera parallel to the result window, include the control area and preserve the original photo. Record when it was taken. A clearer picture improves visibility, not the medical certainty of the test.
A pregnancy-test photo should preserve what you saw, not create the most dramatic-looking line. These practical capture steps help keep the image useful for a closer view.
Printable pregnancy-test photo checklist
Download the one-page photo checklist (PDF, 5 KB). Print it before testing, or save it beside your original photo. It is a capture aid, not a result-reading tool.
- Before: read your exact leaflet, find its reading window, clean the lens and clear private details from the background.
- During: include the whole result and control areas, check focus and reflections, and keep an untouched original.
- Record: the exact product and country, when the test started, the leaflet’s reading time and cutoff, when you took the photo and its file name.
Use the leaflet’s own timing reference; do not assume all tests start their timer at the same step. If timing is unknown, record “unknown” instead of guessing from when you found the photo. A photo taken after the cutoff cannot establish what was visible in the valid window. Our product-specific instruction reference can help you find the relevant manufacturer guidance.
The PDF includes linked FDA and Apple references, practical editorial tips and space for handwritten notes. The same capture guidance is explained below in accessible web text. Prepared by the 2Lines editorial team on 19 September 2026; not clinically reviewed.
Prepare before the reading window
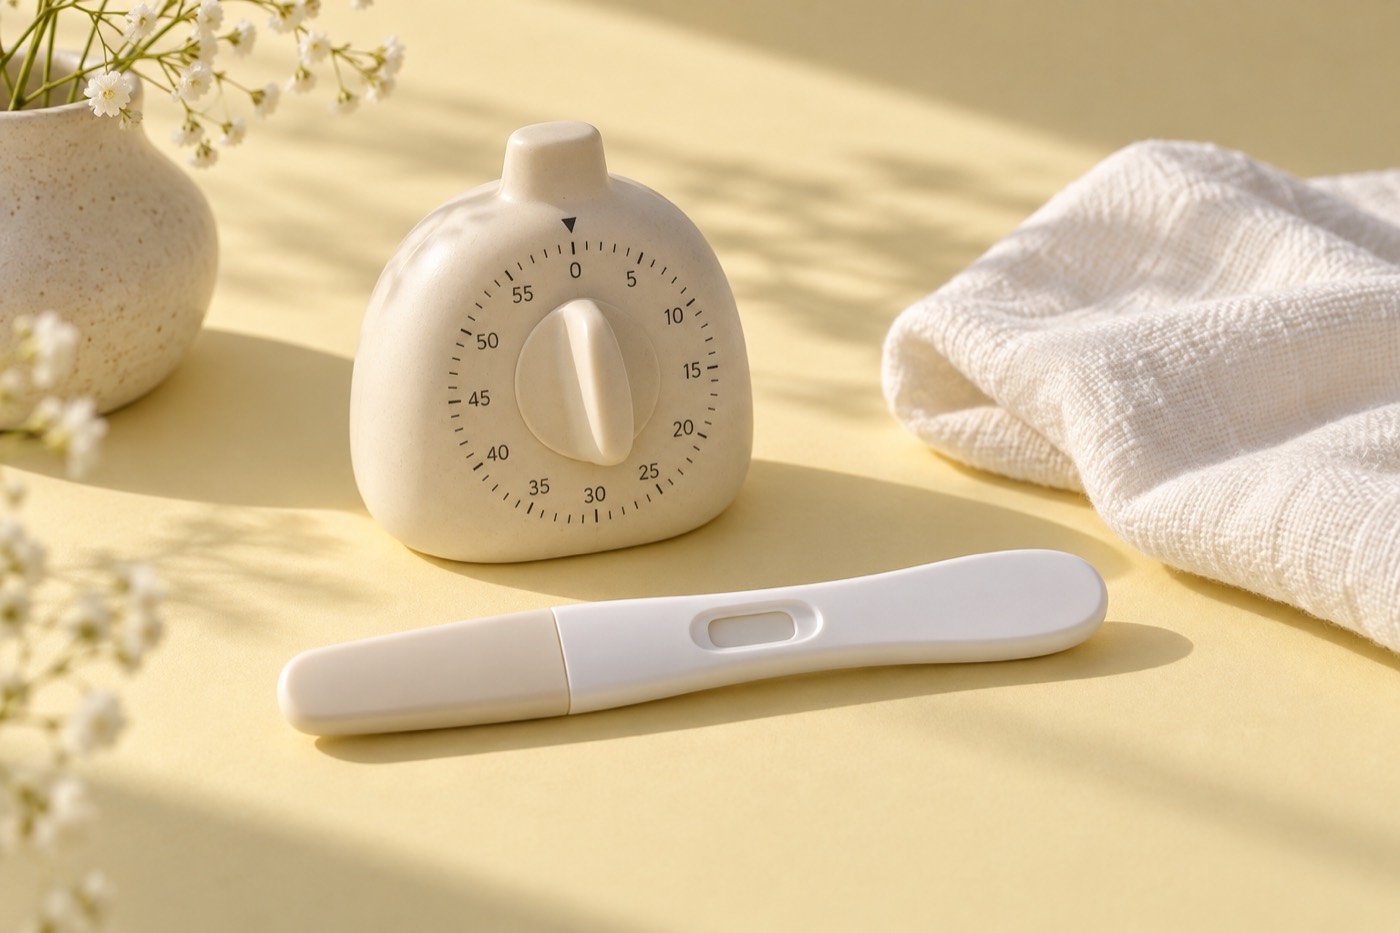
Choose a plain surface with enough indirect light. Keep the leaflet and a timer nearby. Clean the camera lens, and check that the background does not include identifying paperwork or other private details.
Positioning the phone in advance means you are less likely to spend the valid reading period hunting for a different angle. The test’s instructions still take priority over getting a perfect photograph. The FDA emphasizes following the directions for the test you purchased; there is no universal camera timer that replaces its reading instructions. FDA: home pregnancy tests.
Focus on the whole window
- Hold the camera roughly parallel to the result window.
- Move back slightly if the phone cannot focus at close range.
- Tap the window to focus, if your camera supports it.
- Include the control area and enough of the test to identify its orientation.
- Avoid glare from a direct flash or a reflection that covers the mark.
Check the original at ordinary viewing size before zooming. If everything looks soft, digital enlargement will mainly enlarge that softness.
Why is my pregnancy-test photo blurry?
First check whether the whole picture is soft or whether only the test window is unclear. The following are capture checks, not ways to decide whether a test is positive. Try them only while the test is still within its instructed reading period.
| What you see | What to try |
|---|---|
| The entire image looks hazy | Clean the camera lens with a microfiber cloth, as Apple recommends for blurry photos. |
| The background is sharp, but the test window is soft | Tap the result window in the camera preview to move the focus area. Check it again before taking the picture. |
| The image becomes blurry when you move closer | Back the phone away until it can focus. Keep the full window in view instead of filling the frame with one possible mark. |
| A bright reflection covers part of the window | Change the light or your camera position so the reflection moves clear of the window. Check the full control and result areas again. |
| The saved image is much brighter or darker than the preview you wanted | Check exposure before taking another photo. Do not adjust it just to make a possible line stand out. |
Camera references: Apple: troubleshooting blurry camera photos; Apple: adjust iPhone camera focus and exposure; Apple: close-up and macro photography on iPhone. The glare and framing checks are our practical application to test photographs.
iPhone close-ups: focus lock and macro mode
In Apple’s Camera app, touching and holding the focus area until AE/AF Lock appears keeps focus and exposure locked for subsequent shots; tapping the screen releases it. This can help you keep the capture settings steady. It does not lock in a test result. Apple: adjust iPhone camera focus and exposure.
Supported iPhones can switch to the Ultra Wide camera for macro close-ups. Apple suggests backing away or selecting 0.5x if a close-up becomes blurry. Macro support and controls depend on your model. These directions describe Apple’s Camera app, not a promise that the same controls exist inside 2Lines. Apple: close-up and macro photography on iPhone.
Keep color and detail intact
Use a neutral light source where possible. Strongly colored bathroom lighting can tint the whole image. Avoid beauty modes, extreme sharpening or a filter that changes the image before you save an untouched copy.
When sharing, use the original file if appropriate rather than a screenshot embedded in a chat screenshot. Each extra export can crop context or discard detail. Be mindful of the privacy of the service receiving it.
Adjusting a test photo in Apple Photos: keep a way back
If you are adjusting a pregnancy-test photo in the Photos app, keep an untouched version for comparison. The steps below help you preserve and undo edits; they are not a recipe for making a faint mark count as a positive result.
- Make a separate copy first: open the photo in Apple Photos, open More (the three-dot menu), then choose Duplicate. Apple says the copy appears beside the original in the library. Work on the copy and keep track of which image is untouched. Apple: duplicate a photo while preserving the original.
- Compare while editing: tap the photo to compare the edited view with the original. Use Undo or Redo to step through changes instead of relying on memory of how dark a mark looked. Apple: compare, undo and revert photo edits.
- Remove saved edits: open the edited photo, open More, then choose Revert to Original. These steps follow Apple’s current iPhone guide, checked 29 September 2026; controls may differ with your iOS version. Apple: compare, undo and revert photo edits.
Revert applies to edits retained by Photos. Do not expect it to reconstruct information missing from a screenshot, a cropped file you received, or an image exported by another service. Return to the actual original file if you have it. If you use iCloud Photos, Apple notes that edits synchronize across your devices; another synced device is not necessarily a separate untouched copy.
For test photographs, avoid treating added contrast, sharpening, color changes or inversion as new evidence. Keep the complete control and result windows in the original. When sharing an edited copy, identify it as edited and preserve the original alongside it. The photograph’s original reading-time context still matters, and privacy checks still apply before sharing.
A photo that still cannot answer the question
Some marks will remain hard to capture. You may see something in person that the camera does not record clearly. Describe that difference rather than expecting a tool to recover invisible information.
If the permitted reading period has already ended, follow the timing guidance instead of repeatedly photographing the dried test. For sharing and app choices, read what to check before uploading a picture.
About this guide
Written by the 2Lines editorial team. Educational information, not individualized medical advice. This article has not been reviewed by a clinician. Product-specific statements link to the referenced manufacturer’s instructions; always check the leaflet supplied with your own test.
Published · Updated 29 September 2026. Sources, corrections and editorial policy.